Desk & tech / A closer look
Which Desk Upgrade Should You Buy First? A Home Office Buying Order
A better desk starts with the thing that interrupts your day. Fix that first, then stop buying when the problem is solved.
Start here
The useful answer
As an Amazon Associate, we earn from qualifying purchases. How our links work ↗
The useful answer
Buy the upgrade that removes your most frequent work interruption. Adjust the existing setup first, then check screen position and input comfort, lighting and calls, and finally connections or charging. Confirm compatibility before buying a hub or dock. A tidy desk is useful when it works better, not just when it contains more matching accessories.
Compare the buying routes ↓| The interruption | Try before buying | Possible next purchase |
|---|---|---|
| Leaning toward small text | Native resolution, scaling and screen position | A suitable monitor or safe stand arrangement |
| Mouse feels awkward | Pointer settings and closer placement | An input device you can trial for fit |
| Calls are hard to follow | Room position, microphone settings and existing headset | A specific audio or camera solution |
| Too many reconnections | Map every host port and peripheral | A compatible hub or powered dock |
| Charging is unreliable | Check original charger and cable ratings | Correctly specified charger or charging route |
It is easy to spend money on a home office without making the workday easier. A new dock, lamp and matching keyboard can look impressive while the same two annoyances remain: the screen is too close and the mouse cable catches on the desk. A useful upgrade plan begins with those annoyances, not a photograph of somebody else's workspace.
This guide gives you a buying order rather than a mandatory shopping list. The examples come from our existing collection of identifiable products, with tradeoffs and checks before purchase. We have not conducted a medical study or personally tested every item. A mouse, light or stand should not be sold as a cure. The aim is to remove ordinary friction with the smallest suitable change.
1. Keep an interruption log for one working day
Write down each time the setup gets in your way. Be specific: “I unplug the charger to connect the display,” “the mouse feels cramped beside the keyboard,” or “my face is hard to see on calls after sunset.” Avoid vague entries such as “the desk feels bad.” A concrete observation gives you something to check and a clear way to judge whether a purchase helped.
At the end of the day, group the notes by frequency and impact. A daily connection failure may deserve attention before a slightly untidy cable. A small inconvenience repeated thirty times can matter more than a rare task that looks complicated. If a problem affects safety or causes persistent discomfort, address it appropriately rather than assuming an accessory order is the whole solution.
Choose the top problem and write a success condition. For example: “I can connect my laptop with a supported setup and keep it charged while using my ordinary peripherals.” That is better than “buy a powerful dock.” The success condition allows several solutions, including a different cable, a direct connection or a less expensive hub.
Keep the log after the first change. If the interruption disappears, stop and use the setup for a few days before buying the next item. A good desk plan has an end point. It does not keep inventing reasons to fill every empty surface. Money left unspent can be useful when a genuinely important requirement appears later.
2. Rearrange what you already own
Move the most-used items within comfortable reach. Center the main work area, bring the mouse closer if it is unnecessarily far away and remove objects that force you into a cramped position. Check whether the chair and desk adjustments available to you improve the arrangement. A different position can reveal that the supposed equipment problem was partly a layout problem.
Adjust software as well. Check system scaling, application text size, pointer speed and microphone settings. A mouse that feels slow does not always need replacing; a display that looks blurry may be using the wrong resolution or connection. Our blurry external-monitor guide is a better starting point than purchasing a new screen before checking the signal and settings.
Route cables with enough slack for normal movement and without creating trip hazards or sharp bends. Do not hide a power strip somewhere inaccessible or tightly bundle equipment contrary to its instructions. A neat photograph is not the same as a safe, maintainable arrangement. If electrical equipment is damaged or unsuitable, replace it with an appropriate product instead of decorating around the problem.
Take a simple before photograph and record what changed. You do not need a public desk tour. The record helps you notice whether the mouse has more room, the laptop is easier to connect or the screen is better positioned. That makes the next buying decision more grounded than judging the setup against an endless stream of polished interiors.
3. Fix screen position before adding screen accessories
If you lean forward to read, first check text size and viewing distance. If the monitor is too high or low, inspect the stand adjustment. If the screen occupies most of a shallow desk, measure the stand footprint and available room. A light bar or decorative riser cannot fix every screen-position problem, and an arm should not be purchased without checking the support.
Use OSHA's workstation guidance as a starting reference while accounting for your task, eyesight and equipment. Avoid treating one fixed distance or height as a guarantee of comfort for every person. If you have persistent symptoms, seek appropriate advice. Shopping language should not turn a monitor mount into a treatment claim.
A stand or arm can be useful when it provides the position you need and the existing stand cannot. Verify monitor weight, mounting pattern, arm range, desk material and attachment clearance. Check whether the arm can actually place the screen far enough back without hitting the wall. A clamp that fits the edge physically may still be unsuitable for the desktop's construction.
If the display itself is the limiting factor, use our work-monitor buying guide. It covers size, text and connections in the right order. Do not buy an expensive mount for a screen you already plan to replace unless you have checked both products' requirements. The cheapest sequence is often to decide the final screen arrangement before ordering accessories around it.
4. Choose input devices by fit and work, not appearance
A mouse deserves consideration when its shape, placement or functions are creating repeated friction. Start by checking how you hold it and where it sits relative to the keyboard. A larger device is not automatically more comfortable, and a vertical device is not automatically better for every hand. The right choice depends on your grip, hand size, tasks and preferences.
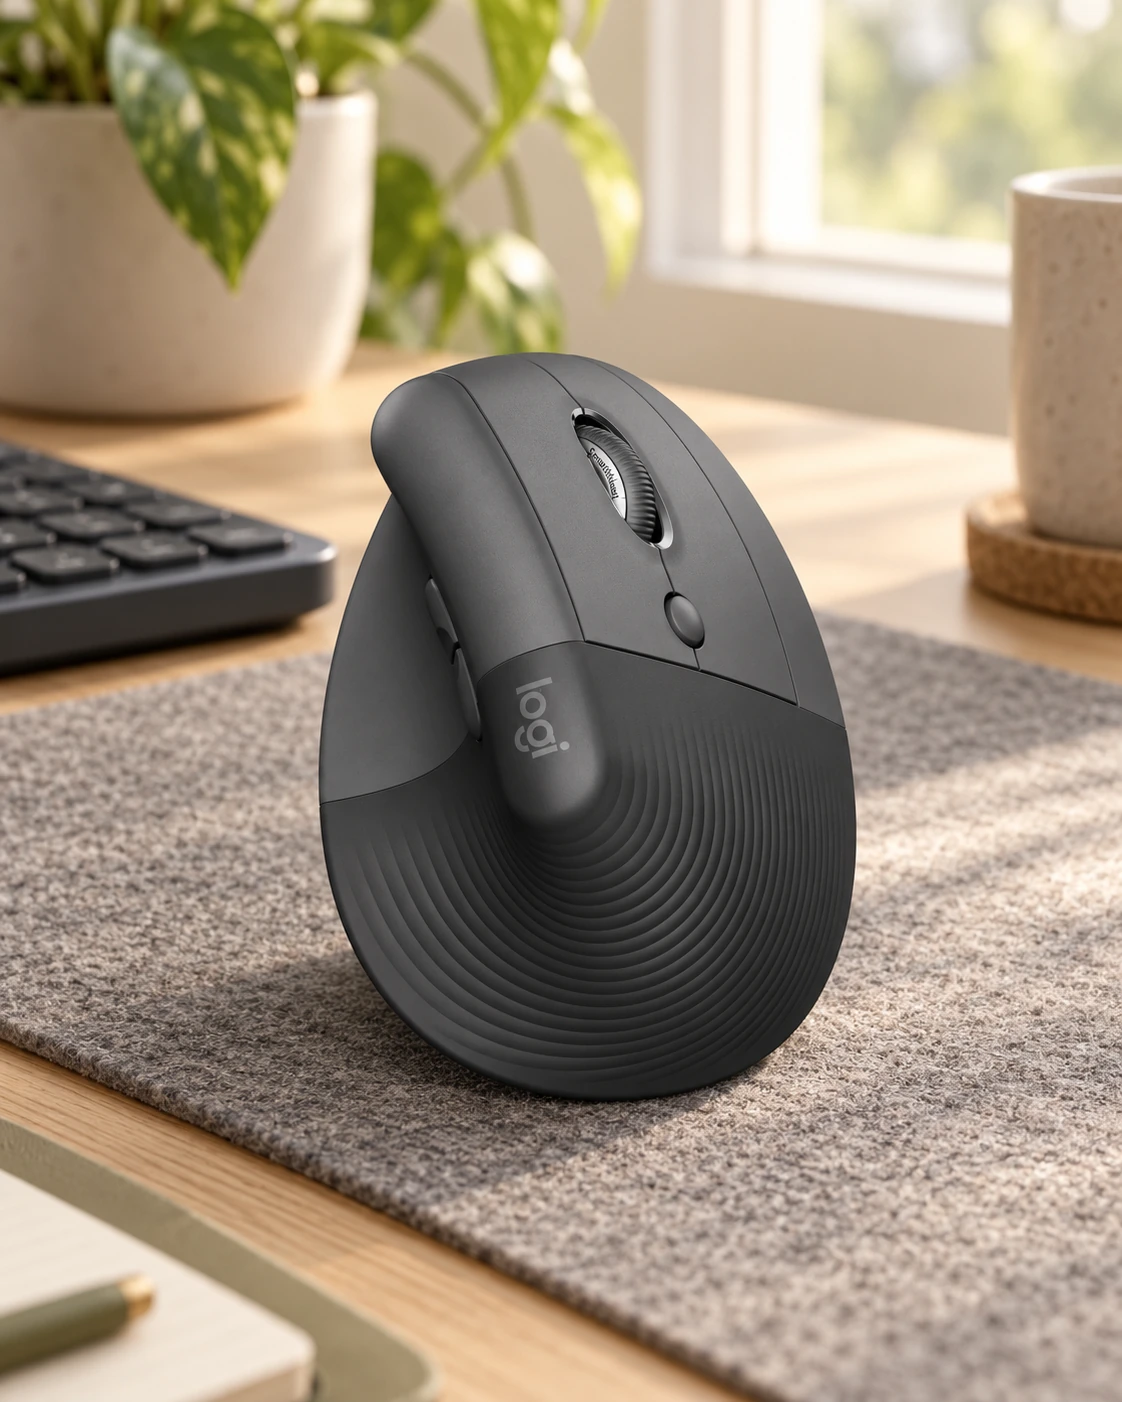
The Logitech Lift is a specific vertical-mouse route worth investigating if its intended hand fit and shape suit you. Check the right- or left-hand version, computer connection and supported software. Our Shop card explains the tradeoff. Do not buy it expecting an immediate medical benefit or assuming that everyone adapts to a different grip in the same way.
If you frequently move between computers or use application shortcuts, functions may matter more than a dramatic shape change. A mouse with suitable switching or button options can reduce work steps, but only if your operating system and workplace software allow the intended setup. Read the model's support information. An advertised function you cannot use is not a reason to spend more.
For keyboards, check layout, language, number-pad needs and available desk space. A compact keyboard can bring the mouse closer, but it can also remove keys you use constantly. If you enter figures all day, losing a familiar number pad may create more friction than it solves. Choose by your work pattern, then consider materials and color once the functional choice is clear.
5. Solve lighting and call problems separately
Poorly lit video calls and an uncomfortable-looking screen are not necessarily the same problem. A camera facing a bright window may struggle with your face even when the desk feels bright. Moving the camera or changing the direction of light can help without replacing it. Test the call application's preview at the time of day when the problem occurs.
A monitor light bar is intended to illuminate the desk area in its supported arrangement; it is not automatically a face light or a solution to every reflection. The BenQ ScreenBar information is a starting point for checking compatibility and intended use. Confirm the exact model, mounting conditions and whether it conflicts with a webcam or a curved screen.
For calls, identify whether the real issue is audio input, audio output, camera framing or the connection. An ordinary headset you already own may solve a microphone problem more directly than a new webcam. If colleagues cannot hear you clearly, buying a sharper camera does not address that complaint. Test one part at a time and avoid buying a complete matching kit out of habit.
If a basic webcam such as the Logitech Brio 100 fits the job, check supported resolution, field of view, mounting and computer requirements in the published brand information. A higher-resolution camera cannot promise a better call when the room lighting, application settings or network limit the result. Spend on the part of the chain that is actually failing.
6. Map connections before choosing a hub or dock
Draw your computer and list every device that needs to connect. Mark which ones need video, data, charging, Ethernet or audio. Then record the exact host ports and the display modes you want. USB-C is a connector shape; it does not by itself establish video output, charging capability or the number of independent external displays your computer supports.
A portable hub can be a sensible route when you need a few additional connections and have checked the host and charger requirements. A powered dock may suit a more permanent workstation with a different mix of ports. Neither category is universally superior. The right product is the one that supports your actual arrangement without paying for capabilities your computer cannot use.
The Anker 332 is an example to investigate for a portable-hub need; CalDigit TS4 and UGREEN Revodok Max 213 represent more substantial docking routes in our collection. They are not interchangeable devices. Check each exact model's host requirements, display support, power arrangement and included cable. A familiar brand name does not make every product in its range equivalent.
Our hub versus Thunderbolt 4 dock guide explains the decision in more depth. For MacBook users, also consult the computer's own display limits rather than assuming a dock adds native display capability. If a proposed solution uses drivers or a different display method, understand those requirements before buying, especially on an employer-managed laptop.
7. Treat charging as an electrical requirement
List the devices you charge and the power arrangements they require. Compare the original charger specification, supported charging protocols and cable capability. A charger with several ports may divide its available output differently when multiple devices are connected. Read the model's allocation information rather than treating the largest number on the box as the output of every port simultaneously.
If a laptop charges slowly through a hub, inspect the complete path: charger, cable, hub power consumption, supported pass-through output and laptop workload. A higher-rated charger alone may not change a bottleneck elsewhere. Use our slow charging guide to identify the chain before adding another charger to a drawer of unused equipment.
Choose an appropriate regional plug and reputable electrical equipment, and follow the manufacturer's instructions. Do not use damaged cables or overloaded arrangements to achieve a cleaner desk. A compact multiport charger can be convenient if it meets the actual requirements; it is not a reason to discard a reliable original charger that already does the job safely and conveniently.
Decide where charging will happen. A short cable that works on a bedside table may be awkward at a desk, while an unnecessarily long cable can create clutter. Keep connections accessible enough to inspect and disconnect. Practical cable placement often improves the experience more than an expensive charging stand chosen mainly because it matches the monitor's finish.
8. Spend in stages with a stop rule
Create three columns: essential now, useful later and attractive but optional. Put only problems from your interruption log in the first column. If the mouse is uncomfortable but the webcam works, the mouse gets the first trial. If the computer cannot connect to the display correctly, solve that before buying a light or a desk mat. The order should follow the failure, not a generic influencer list.
With a limited budget, reserve money for required cables, mounting hardware or delivery rather than spending the whole amount on the main item. With a larger budget, keep the same discipline. More money does not remove compatibility checks. It simply gives you more choices once the requirements are clear. Avoid invented “complete setup” totals that ignore regional prices and the equipment you already own.
Buy one meaningful change, use it through normal work and compare the result with your success condition. If the problem is solved, move that item off the list. If it is not, investigate why before buying the next version. Perhaps the proposed solution addressed the wrong issue, or a setting needs adjustment. A return policy can be helpful, but read the actual seller's terms before relying on it.
The stop rule is simple: stop when the setup works for your current tasks. Empty desk space is allowed. A home office does not need every accessory category to be complete. Keeping the arrangement understandable also makes future troubleshooting easier because you know what each device does and why it is there.
9. Check the model, then check the result
Before ordering, compare the full model reference with the published brand page. Verify the chosen color, keyboard layout, hand orientation, regional plug or bundle as appropriate. Our Amazon buttons may open searches that include related or unrelated products. Match the exact model before paying, and check the seller, condition, delivery and return terms for the actual offer.
When the item arrives, keep the packaging while you confirm the contents and condition. Install it according to the instructions, change one part of the setup at a time and test the tasks from your log. For a dock, include sleep and wake, charging and ordinary peripherals. For a mouse, include the work you do most rather than only moving the pointer around an empty desktop.
Record any unresolved issue clearly enough to ask for support: computer model, operating system, connection route, cable and the task that fails. This is more useful than “it does not work.” Do not attempt risky modifications to make an unsuitable purchase fit. If the product cannot meet the requirement within its documented capabilities, consider the seller's available return or support route.
A good upgrade disappears into the workday. You notice fewer interruptions, not merely a new object on the desk. That is the outcome our collection is meant to support. Use the product cards below when they fit your problem, keep the equipment that already works, and let the remaining space stay empty until you have a real reason to fill it.
Before you decide
Common questions
What should I upgrade first on a small home office desk?
Start with the most frequent interruption after trying free layout and settings changes. Screen position, readable text and input-device placement often deserve checking before decorative accessories, but your actual problem decides the order.
Does a vertical mouse prevent wrist pain?
No product should be treated as a guaranteed prevention or treatment. Shape, hand fit, placement and tasks matter. Trial a suitable device if possible, and seek appropriate professional advice for persistent discomfort.
Do I need a Thunderbolt dock for one monitor?
Not necessarily. A supported direct connection or suitable hub may be enough. Check the computer, desired display mode, peripherals and charging requirements before deciding whether the more substantial dock solves a real need.
Featured in this guide
The next good question
Keep exploring.
 Read the story ↗
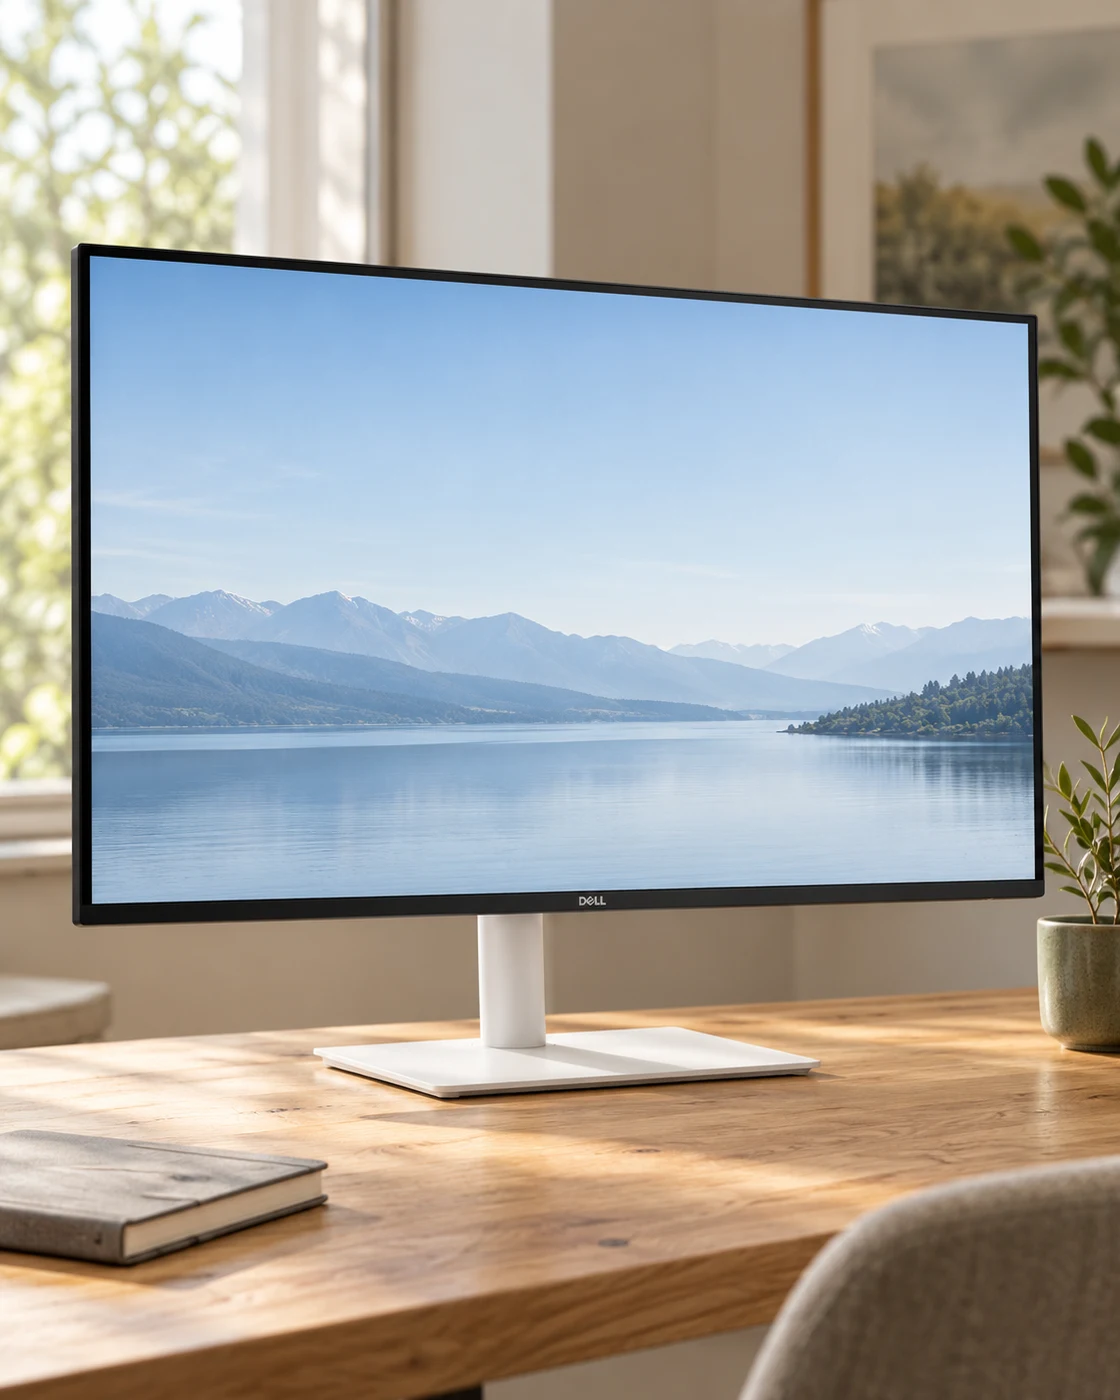
144Hz Monitor for Office Work: A Useful Upgrade or a Gaming Distraction?
The refresh-rate number has escaped the gaming aisle. That does not mean it should be the first thing you buy for a desk.
 Read the story ↗
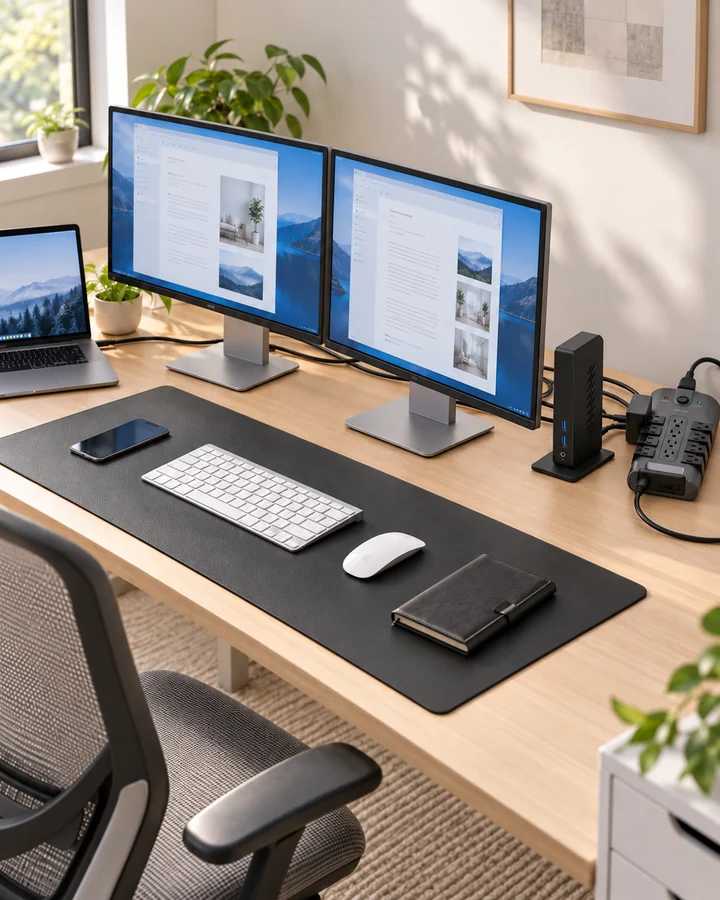
Dual Monitor Office Setup: A DisplayLink Desk Kit Explained
Two work screens need a compatible connection plan. Here is where the UD-3900Z fits, where it does not, and how five supporting accessories earn their place.
 Read the story ↗
Home Office Desk Accessories for Focus: Six Picks Explained
Choose one audio format, give charging a routine and keep room for the mouse. A quiet-looking desk is useful when the arrangement also fits the way you work.