Desk & tech / A closer look
USB-C Monitor Not Detected? Check the Port, Cable and Input
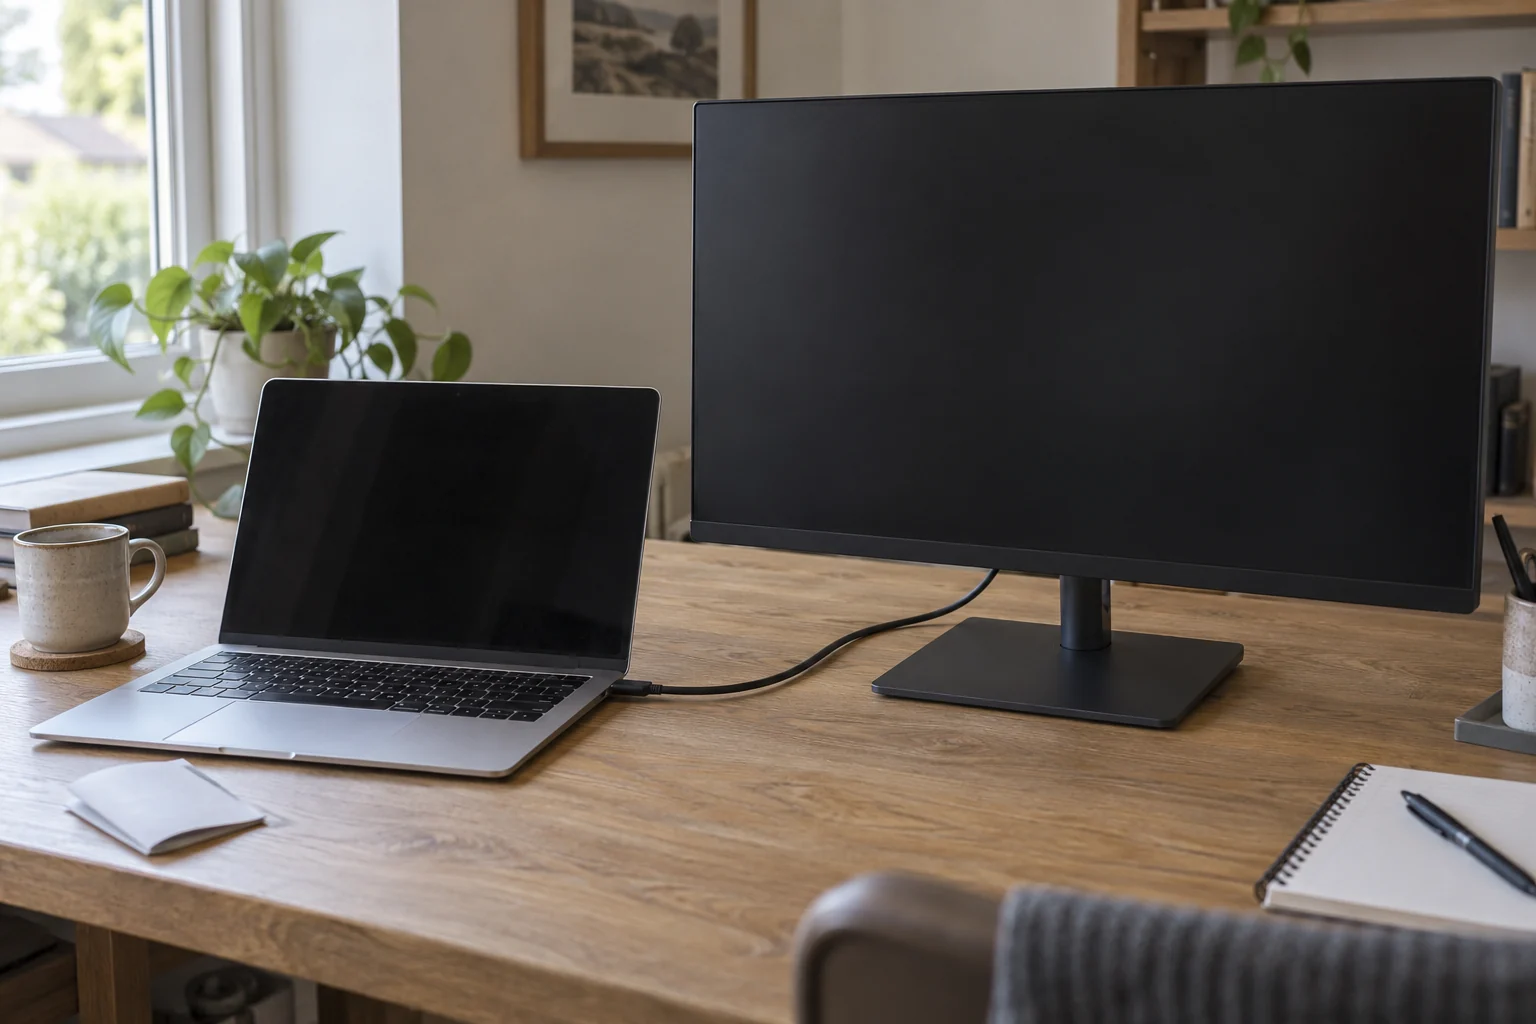
Charging proves that power is passing. It does not prove that video can pass.
Start here
For a USB-C monitor with no signal, verify three things first: the computer port supports the required video output, the cable supports that video connection, and the monitor port is a video input. Power the monitor, select that input and test one direct connection before adding a hub. A USB-C plug that fits is not enough.
As an Amazon Associate, we earn from qualifying purchases. How our links work ↗
Identify what “not detected” means in your setup
Start by separating three observations. A monitor can be completely unpowered; it can power on and say no signal; or it can appear in the computer's display settings while showing an unusable picture. Those observations point to different parts of the setup. Write down which one you have instead of treating every black screen as the same fault.
Use the monitor's own menu as a first check. If the menu appears clearly, the panel and basic power are responding. That does not prove that the USB-C video input is working, but it narrows the question. If even the menu will not appear, follow the monitor's power and diagnostic instructions before changing computer display settings.
Also note whether the same connection charges the laptop or makes a keyboard attached to the monitor work. These are useful observations. They still do not confirm that the required video path is supported.
Check all three parts of the USB-C video path
USB-C describes a connector; its shape does not guarantee the functions implemented at a particular port. For a common DisplayPort-over-USB-C monitor, the host needs compatible video capability and the connection must carry it. Thunderbolt equipment adds its own compatibility requirements. Microsoft USB-C guidance; VESA DisplayPort over USB-C explanation.
| Part | What to verify | What is insufficient |
|---|---|---|
| Computer port | Exact port supports the video's required mode, such as DisplayPort Alt Mode or applicable Thunderbolt support. | “USB-C,” a charging symbol, or a data-speed number alone. |
| Cable | Documented support for the intended video mode, resolution and refresh rate. | A high charging-wattage label by itself. |
| Monitor port | The manual identifies this port as the video-capable upstream/input connection. | Another USB-C downstream accessory or charging port. |
Look up the computer's exact model, not just its family name. A model can have more than one kind of USB-C port. Trace the monitor's socket in its connection diagram as well. Using a convenient side accessory port instead of the designated upstream port is easy to overlook.
Dell's guidance for its listed portable USB-C monitors explicitly distinguishes a video-capable computer port from one providing only data or power. Its cable instructions are specific to those monitors, so do not generalize them to every display. Source: Dell USB-C no-video article.
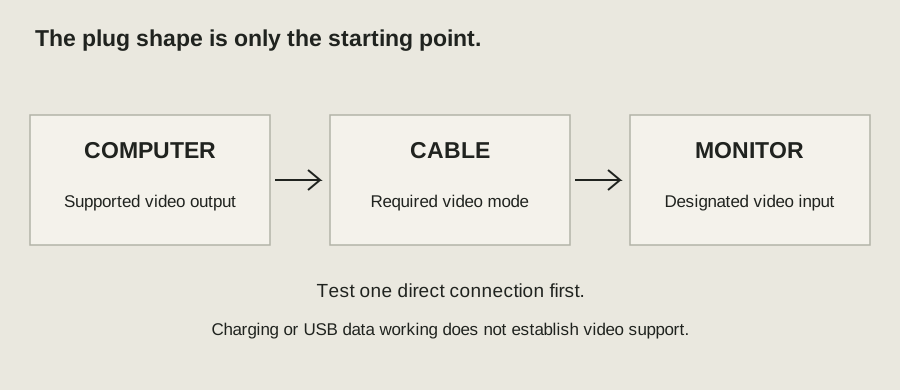
Your connection-path checklist
Use these checks alongside the detailed steps. Checkmarks last only for this open page.
Select the monitor input and supply its required power
Use the monitor's buttons or joystick to select the input you actually connected. An automatic input selection feature is convenient, but selecting the input manually removes one uncertainty during diagnosis. If you are using HDMI into the monitor, select HDMI; do not leave USB-C selected just because the cable starts with USB-C at the computer.
Check the monitor's power arrangement. A desktop display normally has its own supply. Some portable displays may require separate power depending on the host and connection. Follow the specific monitor's manual rather than assuming the computer will supply enough power through any compatible-looking cable.
For initial testing, keep the laptop open, awake and unlocked. If your system asks you to allow a newly connected accessory, review and accept it only if it is the accessory you intended to connect. Closed-lid operation introduces extra requirements and is easier to test after a simple open-lid connection works.
Run a direct connection test before investigating the dock
- Remove the hub or dock. Disconnect other display adapters for this baseline. Keep only one external monitor.
- Use a documented video-capable cable. Prefer the supplied monitor cable if its manual identifies it for this use.
- Connect the supported computer port to the monitor's video input. Seat both ends fully without forcing them.
- Choose the corresponding input. Record whether the monitor now appears in the computer's display settings.
- Change one part at a time. If a known-compatible spare cable is available, try it while keeping the other components unchanged.
A successful direct test shows that the tested host, cable and monitor can work together in that arrangement. It does not certify every output on the dock. Reintroduce the dock next, with its prescribed power supply and host port, then test the same monitor again.
If the direct test fails, try an available alternative supported video input, or test the monitor with another compatible computer. Borrowing a known-working cable or device can be more informative than ordering several replacements at once. Label your results so you remember exactly which combination worked.
Only then check the computer display settings
In Windows 11, open Settings → System → Display. Use the multiple-display controls to look for the external screen. If it is detected, select a mode that matches your goal, such as extending the desktop. Windows + P can select projection modes, but changing modes cannot add video capability to a data-only port.
On a recent Mac, open System Settings → Displays and check whether the external display is represented. If the display works directly but not through a hub, Apple recommends checking the connection path and adapter support. Source: Apple external-display troubleshooting.
Record software and graphics updates if the setup stopped working after a change. Use the computer or dock manufacturer's supported update route. Random driver utilities add uncertainty. Before firmware updates, confirm the exact hardware revision and read the manufacturer's instructions; not every small USB-C hub even has user-updatable firmware.
Use the result to choose the next action
| Result | Next action |
|---|---|
| Works directly, fails through the dock | Check the dock's host connection, output support, power and relevant manufacturer guidance. |
| Works only with another cable | Compare cable capabilities and inspect the original for damage; replace the confirmed weak link. |
| Works from a different supported computer port | Check the first port's documented features and model-specific troubleshooting. |
| Menu works but no supported source gives video | Record the tested inputs and contact monitor support. |
These are diagnostic directions, not definitive component verdicts. For example, a dock failure can involve its supplied cable, power arrangement or a particular resolution combination. Preserve that distinction when asking for service or a replacement.
Buy a cable or dock against a written requirement
If replacement is justified, write down the computer model and port, monitor input, intended resolution and refresh rate, required cable length, and whether laptop charging is also needed. Match those requirements to explicit documentation. “Fast charging,” “8-in-1” or “4K compatible” alone does not answer every part of the question.
Do not use a typical USB-C-to-HDMI cable backward to feed a USB-C-only display. Conversion direction matters; choose an explicitly supported adapter arrangement if the manual allows one. If your computer lacks the required video mode, a different passive cable cannot create it.
Our USB-C monitor versus dock guide explains how to plan a working one-cable desk. Once the picture appears but text is unclear, move to the blurry-text checklist rather than repeating the no-signal steps.
The video below walks through how to check laptop video output and connection paths.
Questions readers ask
Why does my monitor charge the laptop but show no picture?
Power and video are separate capabilities. Check the computer port, cable and monitor input for the required video support, even when charging works.
Can a more expensive USB-C cable fix every no-signal problem?
No. A correct cable can replace an unsuitable or faulty cable, but cannot give a data-only computer port native video capability.
Sources and how this guide was prepared
This is a researched explanation and a practical owner checklist. We reviewed the official sources below on November 7, 2026; we have not performed a laboratory test or claimed firsthand ownership of every device discussed. Worked examples and conceptual diagrams are labeled. Workspace and wearing scenes provide context; use model documentation for specifications and fit. Check the manual and support guidance for your exact model.
- Microsoft: USB-C troubleshooting
- VESA: DisplayPort over USB-C
- Dell: specified portable monitor USB-C no-video cases
- Apple: dark or low-resolution external display
Found a model-specific exception or an instruction that has changed? Use the site's contact information and include the model and official source so the guide can be corrected.
Continue with the relevant guide
The next good question
Keep exploring.
 Read the story ↗
Laptop Charging Slowly Through a USB-C Monitor or Dock? Check the Power Path
The wattage on the power brick is only one part of the connection. Find the number that actually applies to the laptop-facing output.
 Read the story ↗
USB-C Monitor vs Dock: Build a One-Cable Laptop Setup Without Guesswork
A USB-C monitor can replace a separate dock when it supports the video mode, charging wattage and downstream ports your laptop needs. A dock is more flexible for several displays and peripherals. USB-C describes a connector, not a guaranteed feature set, so verify the exact laptop, monitor, cable and dock capabilities as a complete chain.
 Read the story ↗
USB-C Laptop Desk Setup: A Practical Six-Piece Kit
One screen, fewer loose connections and six clearly defined jobs. Start with the laptop's limits, then buy only the pieces your desk is missing.