Style & wardrobe / A closer look
How to Remove Pilling from Hoodies and Sweaters Without Damaging the Fabric
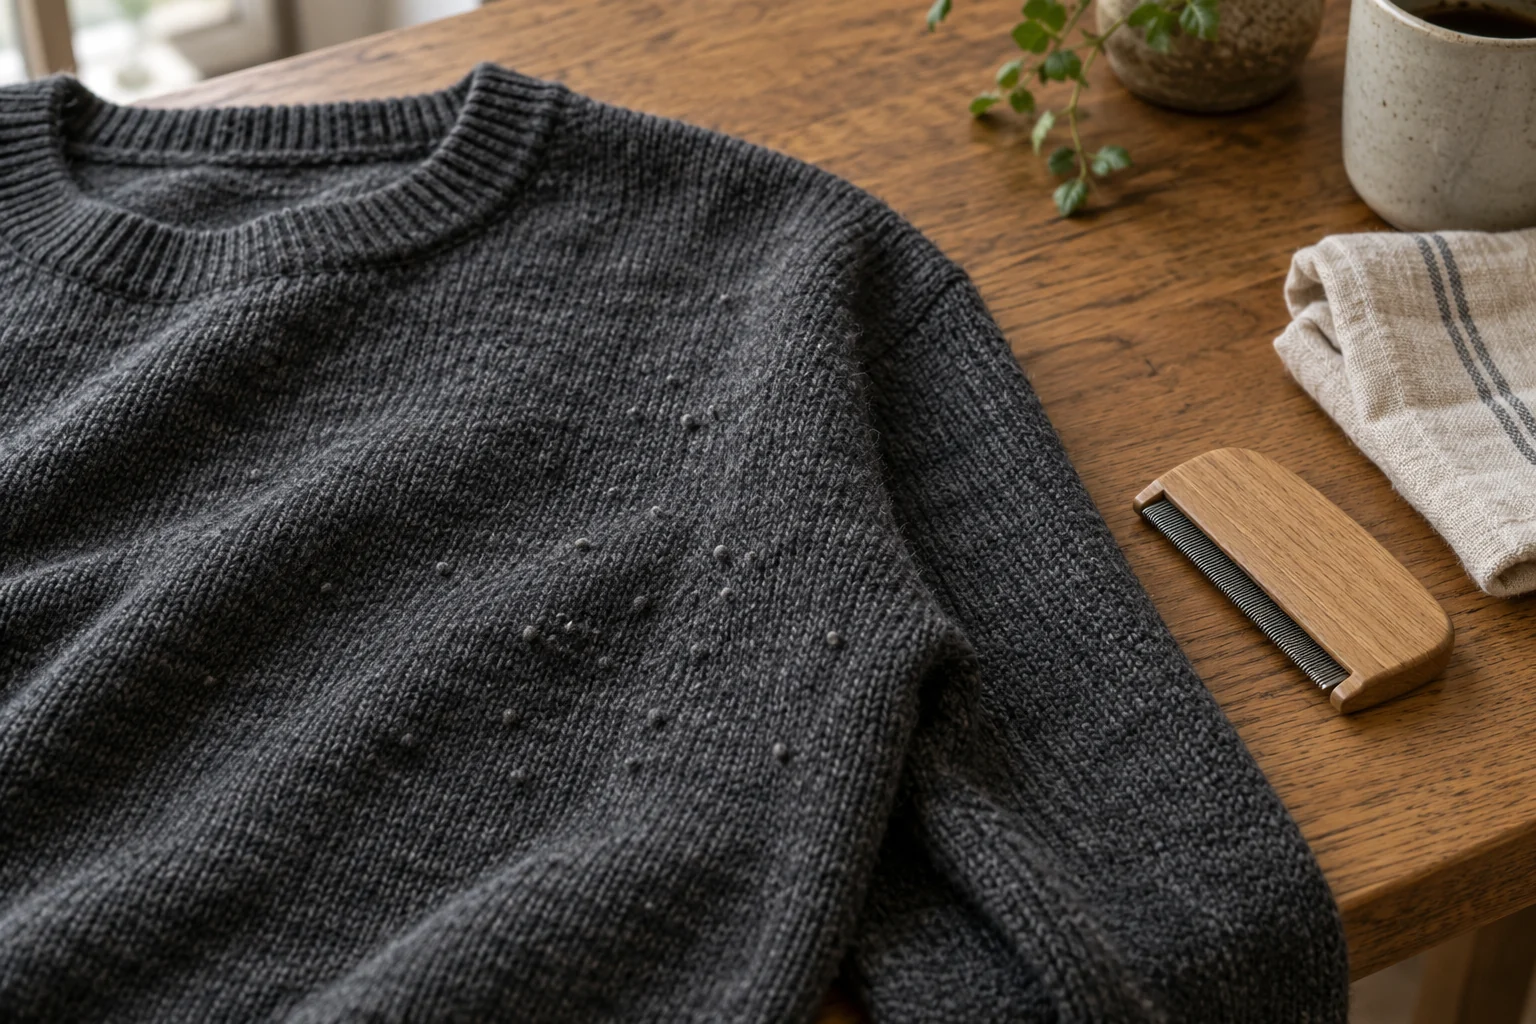
Start with the fabric, not the sharpest tool. A small local trial gives you more useful information than shaving the entire garment at once.
Start here
First confirm that the marks are attached fiber pills rather than loose lint, snags or missing fabric. Read the garment’s care guidance and the tool’s instructions. Support the fabric flat and unstretched, test a suitable method on a small inconspicuous area, and stop if it catches, thins or damages the surface. Removing pills can tidy a garment; it cannot rebuild worn fabric or guarantee that pilling will not return.
As an Amazon Associate, we earn from qualifying purchases. How our links work ↗
1. Confirm that you are looking at pilling
Pills are small attached balls of tangled fibers on the fabric surface. Loose lint sits on top differently, while a snag can be a pulled loop still connected to the knit. A rubbed thin patch is another problem entirely. Before selecting a tool, inspect a small area in good light and avoid pulling any questionable strand.
Patagonia's care guide explains pilling in terms of loose fibers and friction, and discusses different removal approaches. Use that as context for the surface you are seeing, not as a guarantee that every fabric tolerates every tool. The complete garment's care instructions remain relevant.
A lint-removal method may improve loose surface material without addressing attached pills. Conversely, a cutting tool used on a snag can turn a visible loop into damaged yarn. If you cannot distinguish them, ask the garment maker or a repair specialist before removing anything. A photograph taken close enough to show the texture can make that inquiry easier.
2. Check construction and sensitive areas
Lay the garment down and inspect its structure. Is it a dense sweatshirt fabric, a fine lightweight knit, a loose open knit or a brushed pile? Are there embroidery, printed areas, raised seams or decorative fibers? The word “sweater” covers fabrics that behave very differently when brushed, combed or shaved.
Keep ribbing, edges, seams and embellishments separate from the plain fabric area you want to treat. A tool that travels smoothly across a flat panel can catch a raised feature. Do not assume that a cuff should receive the same number of passes or pressure as the body.
If the fabric is already thin, has holes or sheds badly during handling, removing more surface material may make the condition worse. Treat that as a repair or retirement decision rather than a grooming task. For an expensive or unfamiliar garment, the maker's advice can cost less than a failed attempt to improve its appearance.
3. Choose a method by compatibility, not speed
Read the tool's instructions for the intended fabrics and guards. A powered shaver, sweater comb and lint roller do different jobs. A height adjustment or protective cap is not a universal assurance against damage. Avoid making a shaving decision from a product advertisement alone.
| Method | Reason to consider it | Limit to check |
|---|---|---|
| Garment-compatible lint roller | Loose surface lint | Adhesive compatibility; not removal of attached pills |
| Sweater comb | Targeted treatment where the maker permits it | Catching loose loops or fragile knit |
| Fabric shaver | Controlled removal on compatible supported fabric | Blade contact, guard setting and raised details |
| Professional advice | Delicate, damaged or uncertain material | May be preferable to an irreversible trial |
Do not wear the garment while using a cutting tool. Do not substitute a loose household razor merely because it is available. If your only tool has no suitable instructions, pause and find a compatible method. The aim is controlled surface tidying, not the fastest possible removal.
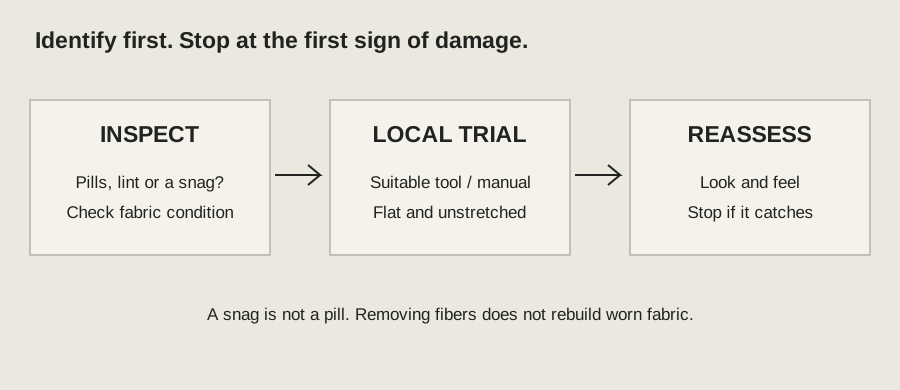
Your small-area trial checklist
Use these checks alongside the detailed steps. Checkmarks last only for this open page.
Download checklist · TXT4. Make a small trial and inspect it before continuing
Follow the tool's setup instructions. Support the selected area on a flat surface, gently smoothing folds without pulling it taut. Choose a small inconspicuous plain area with enough fabric condition to assess. Keep seams and decorative details away from the trial path.
Use the permitted guard and light controlled movement prescribed by the tool maker. Start with the smallest reasonable intervention, then stop and inspect. Look for catching, loose loops, thinning, discoloration or a change in the intended brushed texture. Do not continue just because some pills came off successfully.
Compare the trial with the adjacent untreated area in the same light. If the fabric looks intact and the maker's guidance supports the method, proceed in small sections while checking regularly. Clean the tool as instructed rather than pushing it harder when removal slows. This sequence is a cautious home approach, not a guarantee of damage-free results.
5. Know the stopping point
Stop immediately if the tool snags, pulls a loop, leaves a thin spot or changes the fabric unexpectedly. Do not trim the pulled loop in an attempt to conceal the result. Secure the garment away from further abrasion and ask for repair advice. A snag and a loose pill need different treatment.
Also stop when removing more would sacrifice the intended surface. A brushed sweatshirt may naturally have a soft fuzzy finish. Trying to make it look like a smooth woven fabric can remove material the garment was designed to retain. “Completely smooth” is not an appropriate target for every knit.
If you are unsure whether the appearance is improved, leave the remaining area untreated until you can compare the dry garment in ordinary use. The cost of a few visible pills may be lower than the cost of an irreversible surface change. A garment can remain useful and presentable without looking factory new.
6. Reduce repeated friction and record what worked
Notice where pilling recurs. A backpack strap, desk edge or repeated rubbing beneath an outer layer can concentrate wear. Changing that contact pattern may be more useful than treating the same spot repeatedly. Do not infer that a particular fiber percentage alone caused the issue.
Follow the garment's permitted care routine and group compatible items. Patagonia's guidance discusses reducing abrasion in care, including suitable inside-out washing and separating rough items. Check whether those choices fit your exact garment before adopting them. Laundry changes cannot eliminate all friction during daily wear.
Make a brief note of the garment, tool, setting and the area treated. Revisit the surface after normal wear rather than immediately repeating the process. If pills return quickly, reconsider the contact pattern and how much material you are removing. Removal changes appearance; it does not replace the fabric.
When evaluating another hoodie or sweater, ask about its construction and care as well as softness. Very little useful information comes from a claim that a garment is “premium” without its composition, surface finish or care requirements. Our hoodie-fabric comparison explains why a label cannot predict every wear outcome.
Keep a photograph of the trial area before treatment and after the garment rests normally. If the surface feels thinner even though the photograph looks cleaner, record both observations. A visual improvement alone is not a reason to repeat the process. When asking a repair specialist, show the entire garment as well as the close-up so they can judge construction and the location of the wear.
Questions readers ask
Is pilling proof that a sweater is poor quality?
Not by itself. Construction, surface finish, fibers and friction all matter. Judge the individual garment and its condition.
Can I shave a loose pulled loop?
Do not treat a snag as a pill. Cutting a connected loop can damage the fabric; seek garment-specific repair guidance.
Will removing pills stop them coming back?
No. It changes the present surface, while the conditions that produce friction may remain.
Sources and how this guide was prepared
This is a researched explanation and a practical owner checklist. We reviewed the official sources below on October 5, 2026; we have not performed a laboratory test or claimed firsthand ownership of every device discussed. Worked examples and conceptual diagrams are labeled. Workspace and wearing scenes provide context; use model documentation for specifications and fit. Check the manual and support guidance for your exact model.
- Patagonia: how to remove pilling from clothes
- Philips: GC029/38 fabric-shaver features and height-adjustment cap
Found a model-specific exception or an instruction that has changed? Use the site's contact information and include the model and official source so the guide can be corrected.
Continue with the relevant guide
The next good question
Keep exploring.
 Read the story ↗
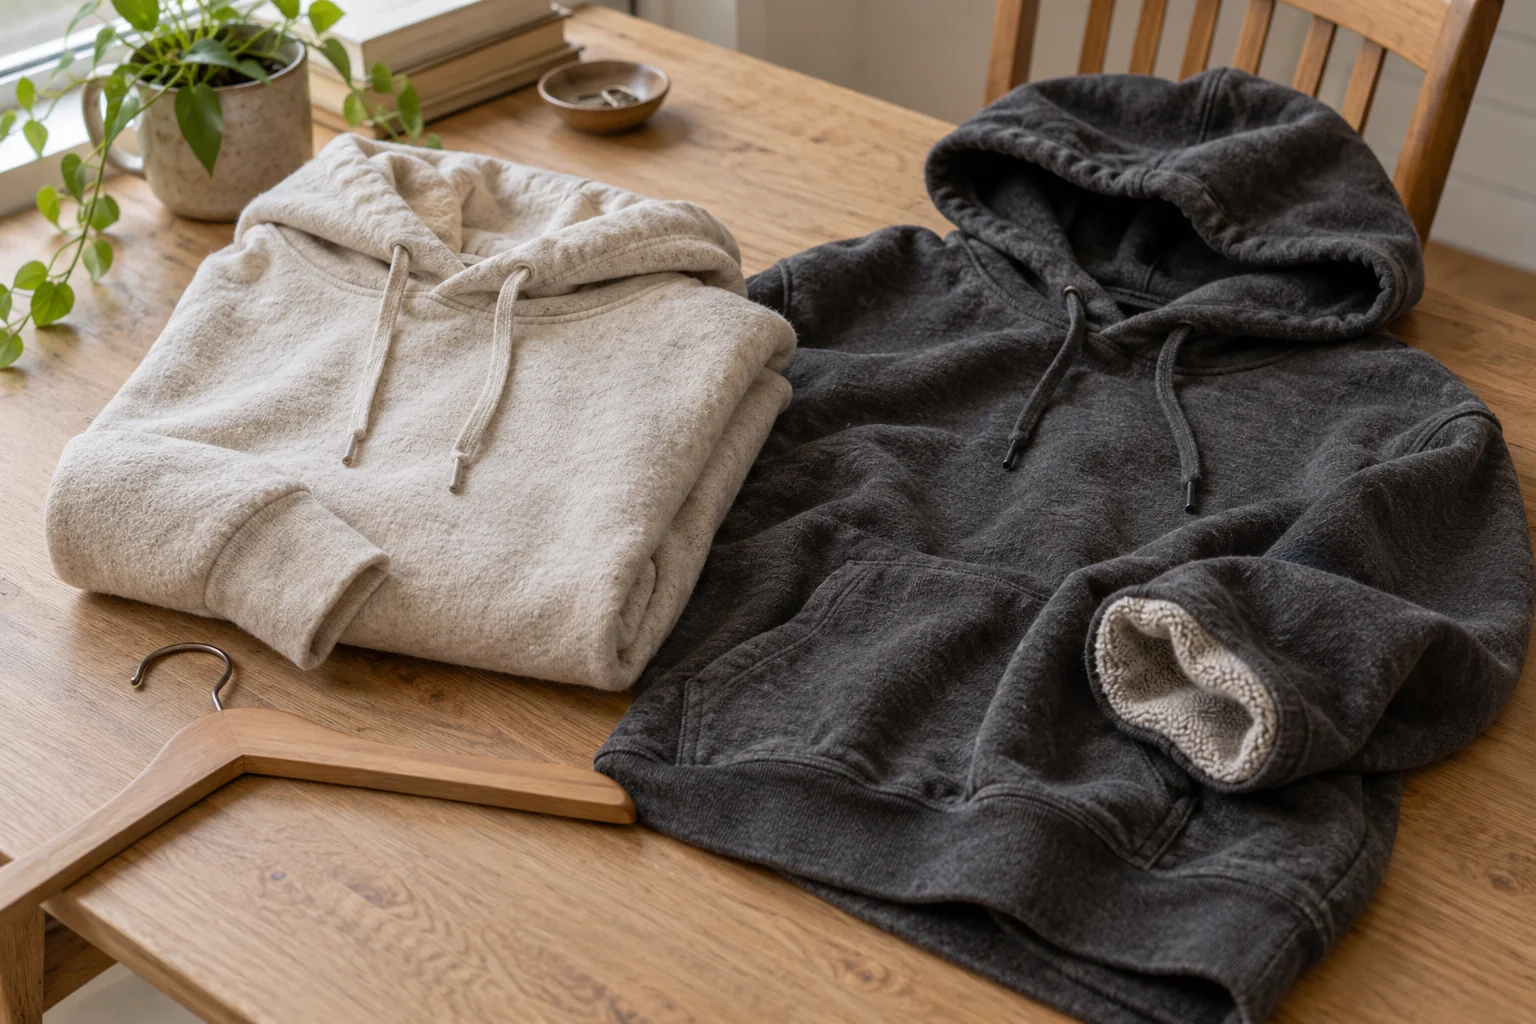
Cotton vs Cotton-Polyester Hoodies: Fabric, Drying and Everyday Use
The composition label is useful information. It is not a complete forecast of comfort, drying time or how the hoodie will wear.
 Read the story ↗
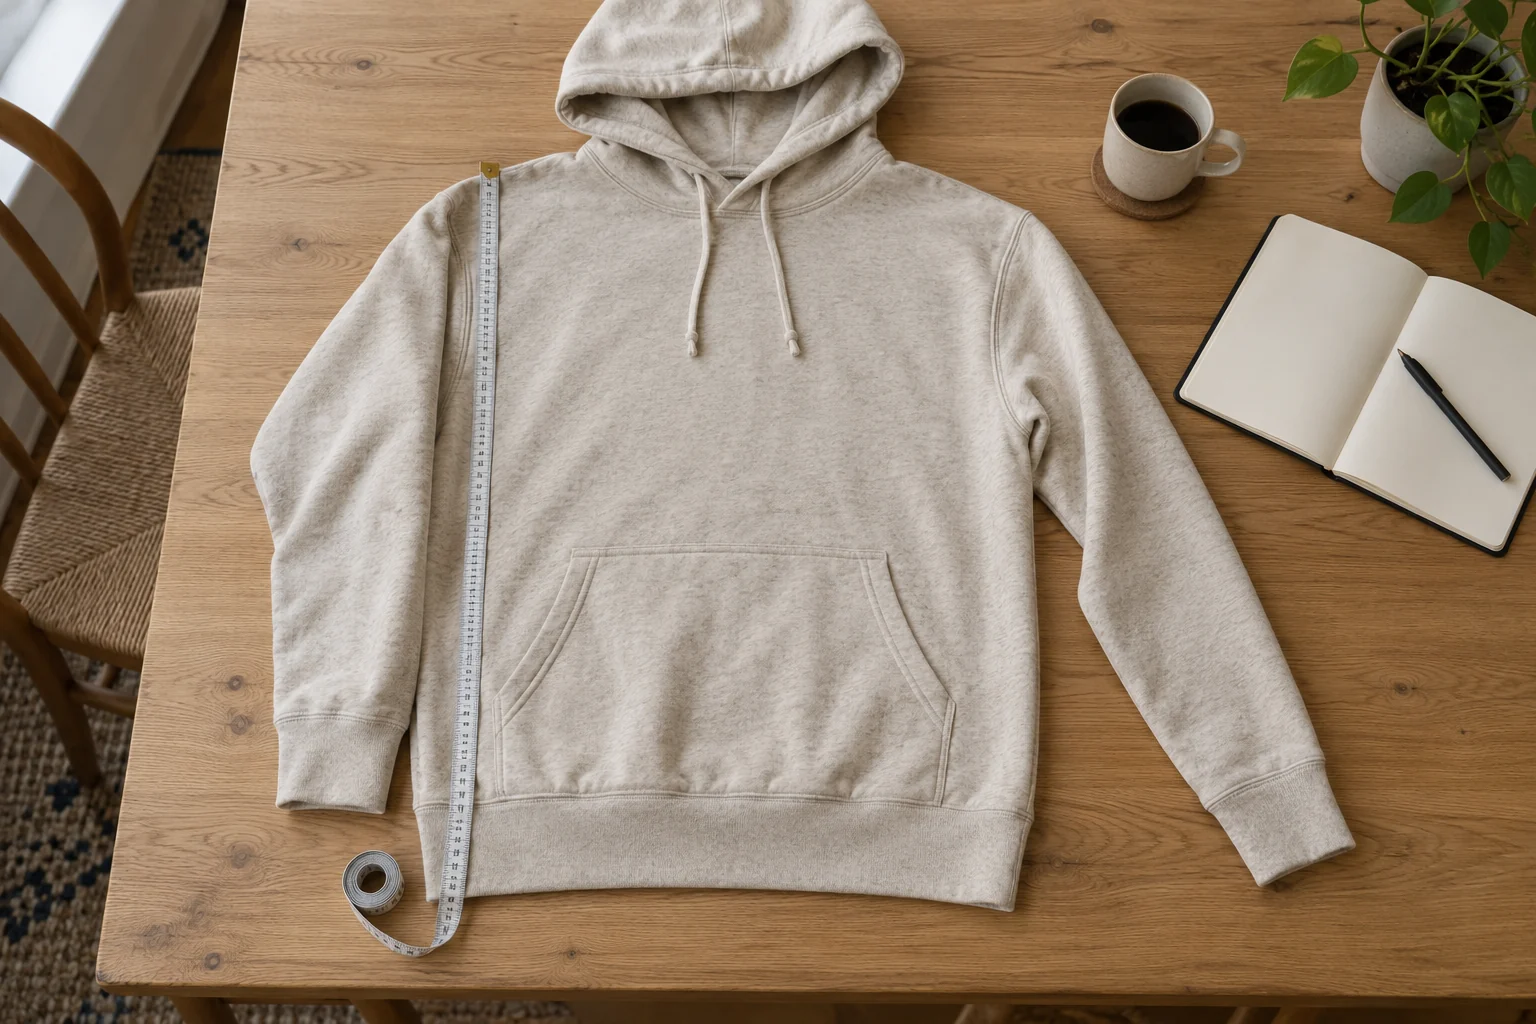
Do Cotton Hoodies Shrink? How to Check Fit and Reduce Further Shrinkage
A tighter fit can come from a real size change, measurement differences or the way the hoodie is sitting. Find out which before trying to stretch it back.
 Read the story ↗
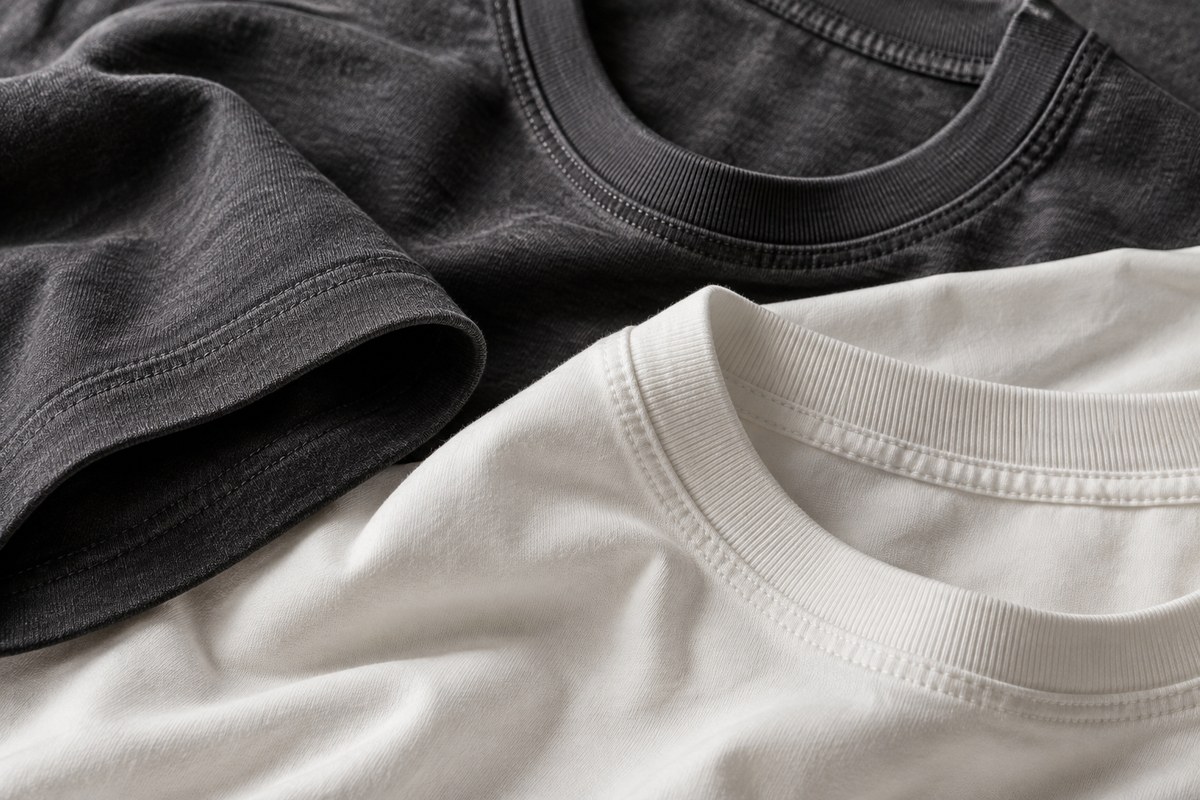
Best Heavyweight T-Shirts Under $40: Fabric, Fit and Value Guide
A heavyweight T-shirt can drape cleanly and feel substantial, but GSM alone does not guarantee quality or comfort. Under $40, compare fabric weight, cotton type, shrinkage guidance, collar construction, fit measurements and return policy. Choose a shirt that suits your climate and layering habits rather than treating the thickest fabric as automatically best.